Give the gift of choice with a Fragments Gift Card
Can we store cookies?
Broadcast uses cookies to improve your browsing experience.
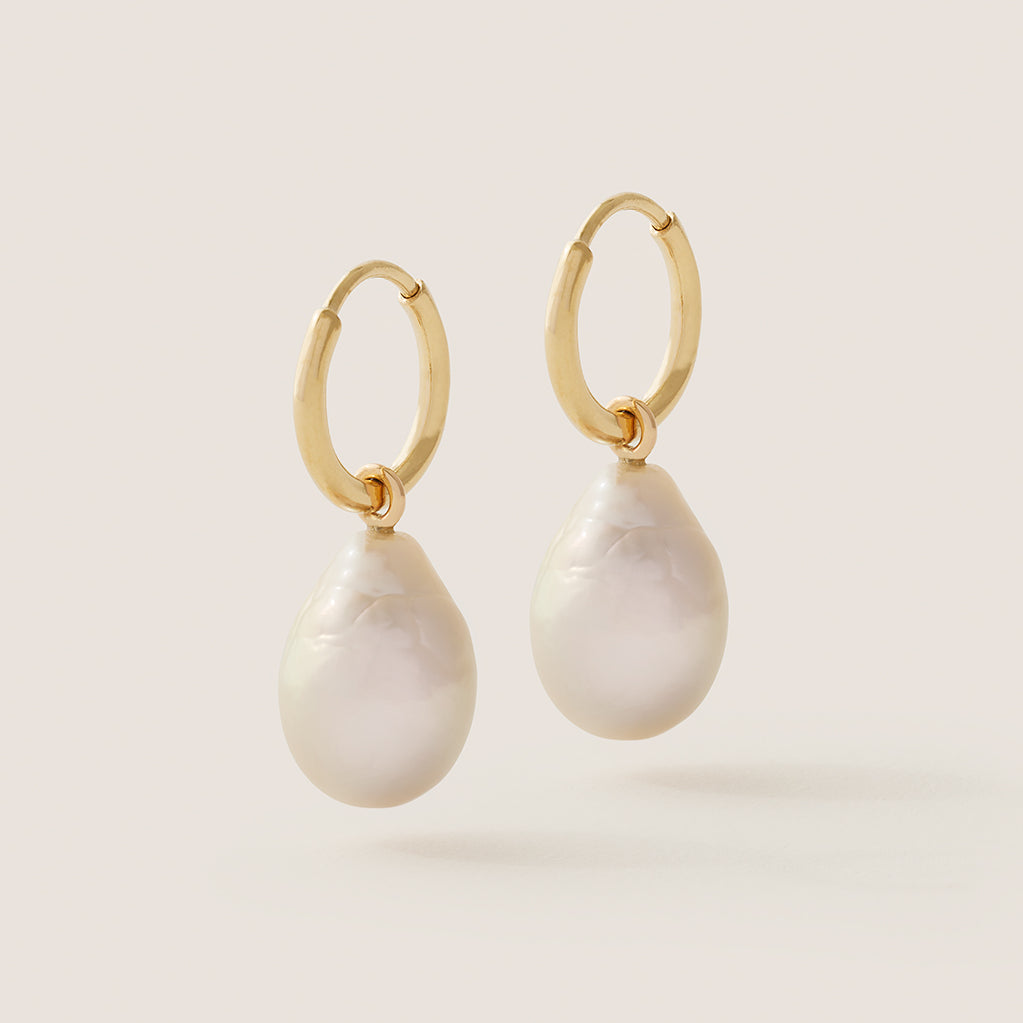
THE DREAM DROPS - PEARLS
THE SHIELD PENDANT
THE ALBERT NECKLACE
THE LARGE PAPERLINK HUGGIES
THE AURELIE BANGLE
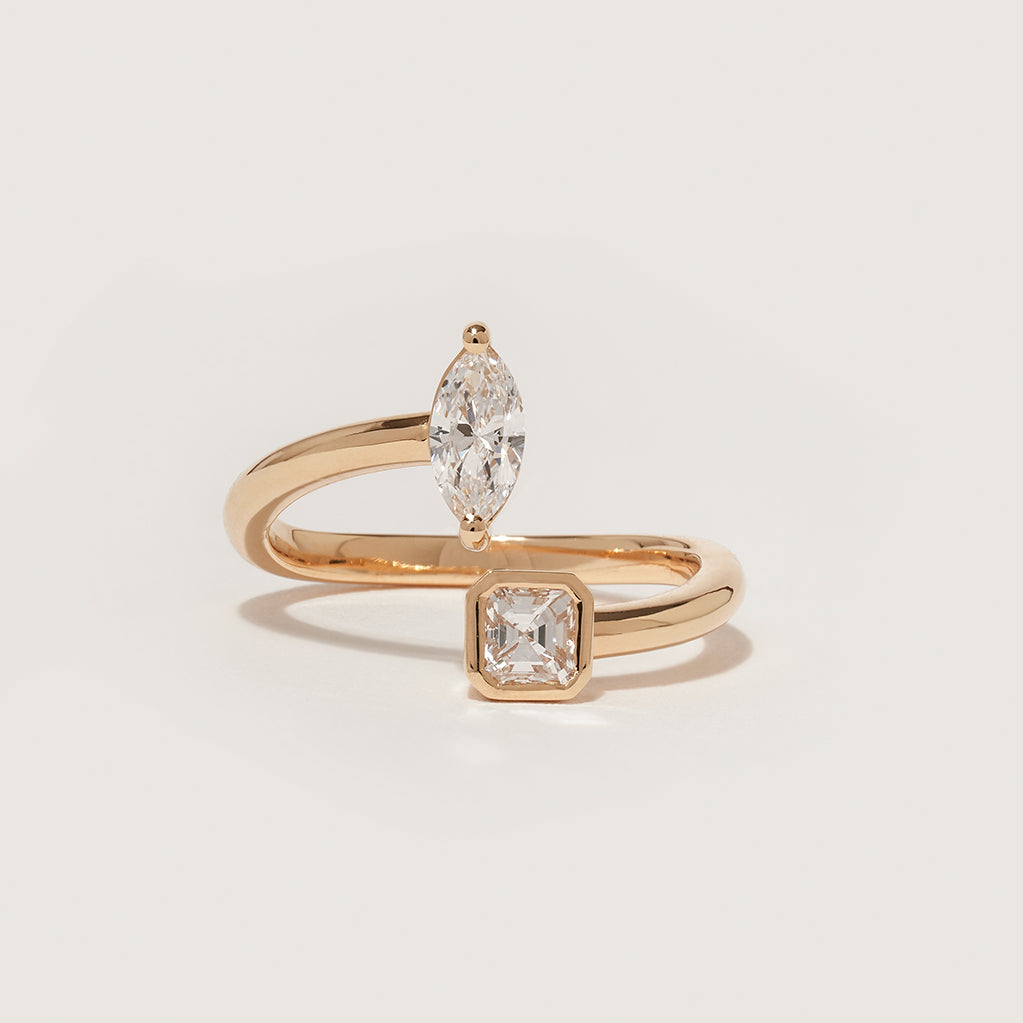
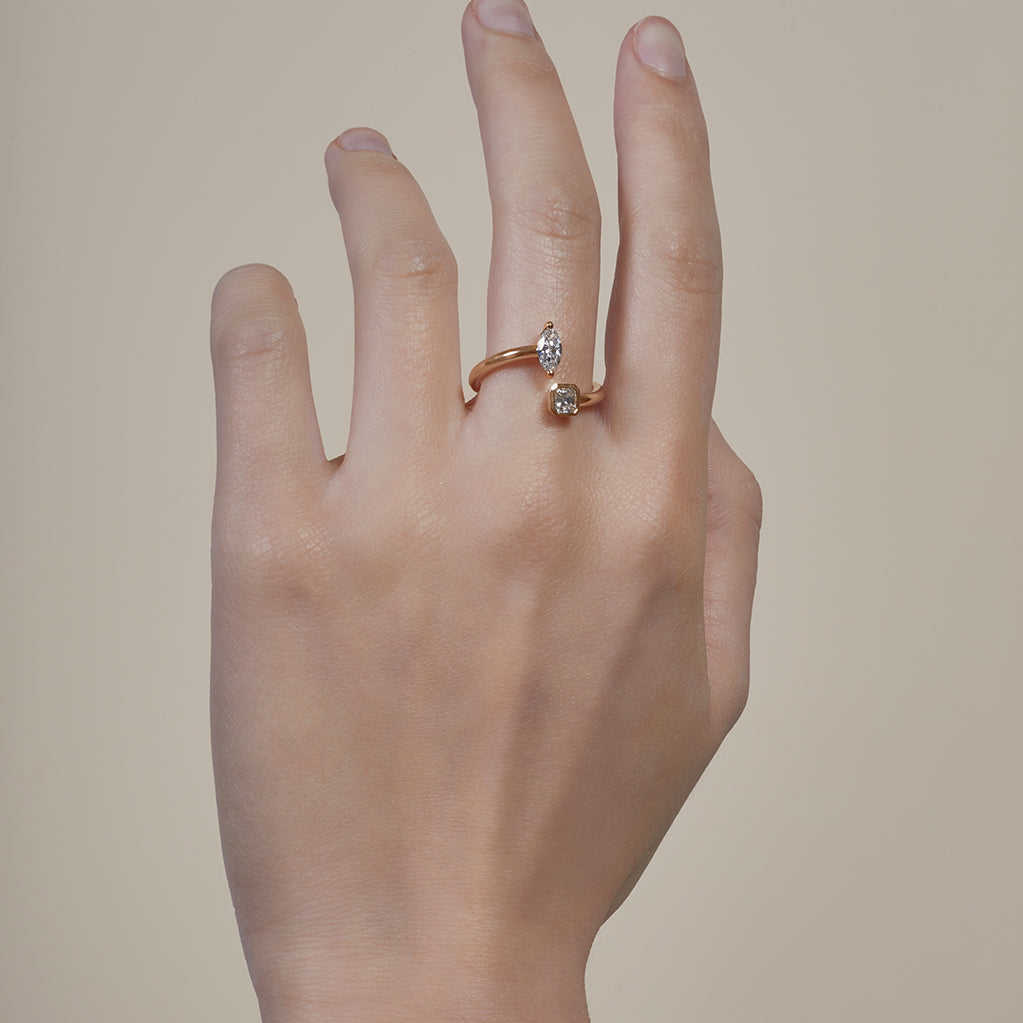
THE TOI ET MOI WRAP RING
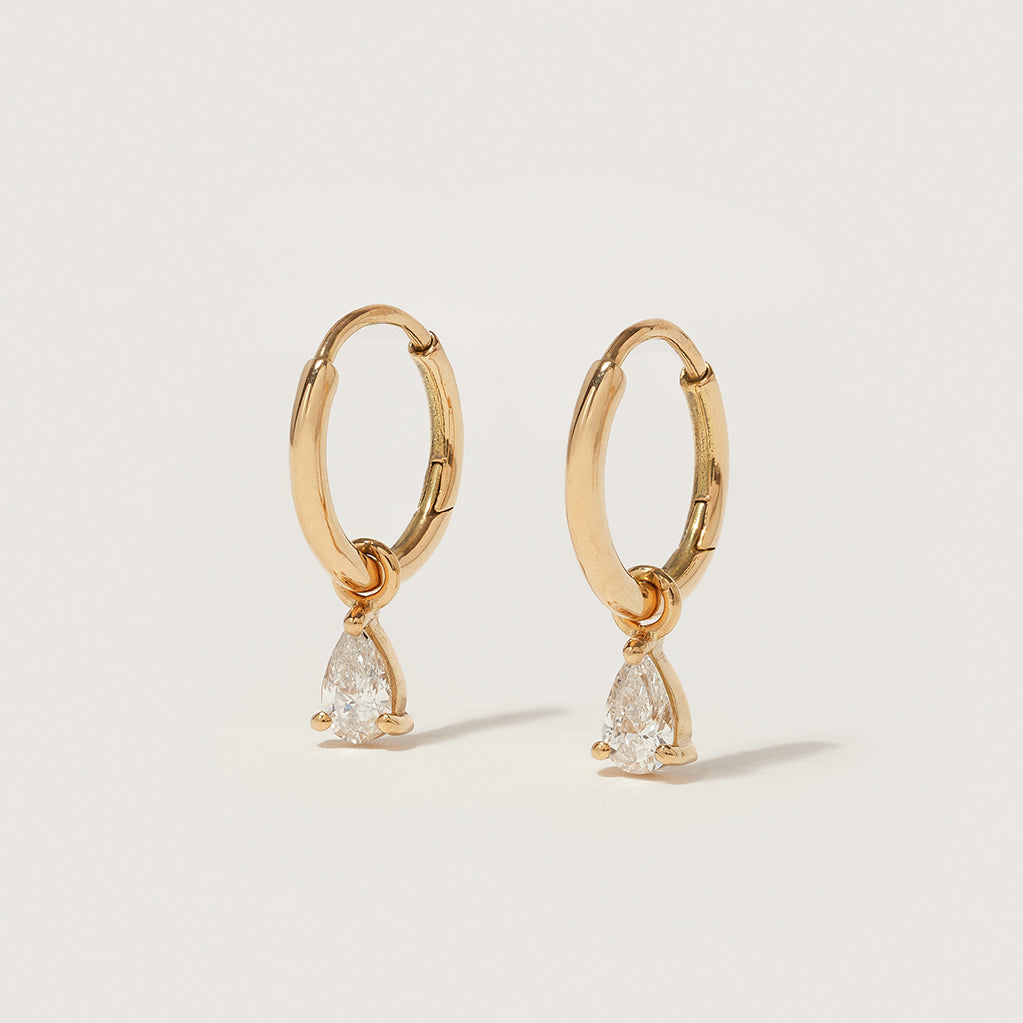
THE DREAM DROPS - PEAR
THE DIAMOND SET HUGGIES
THE STARBURST DISC
THE CLAW SET DIAMOND STUDS
THE PINKY SIGNET
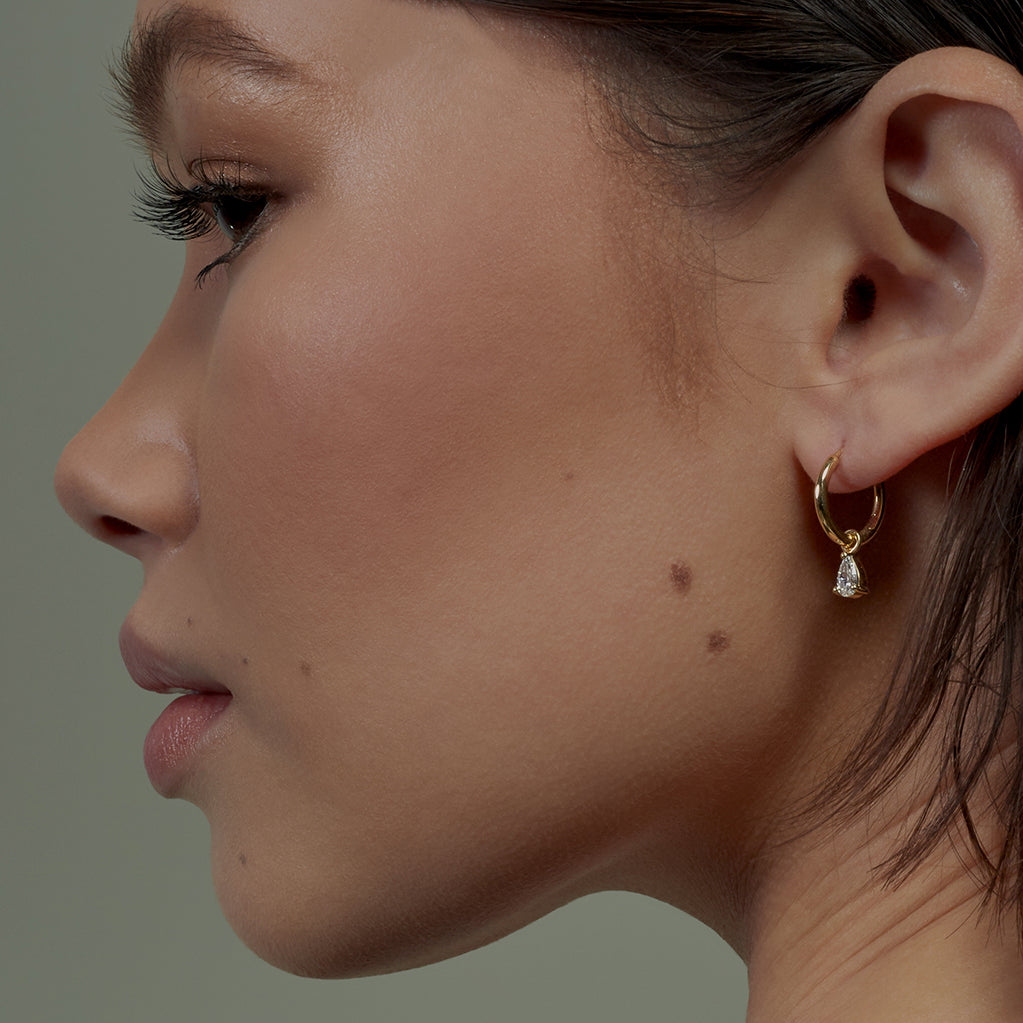
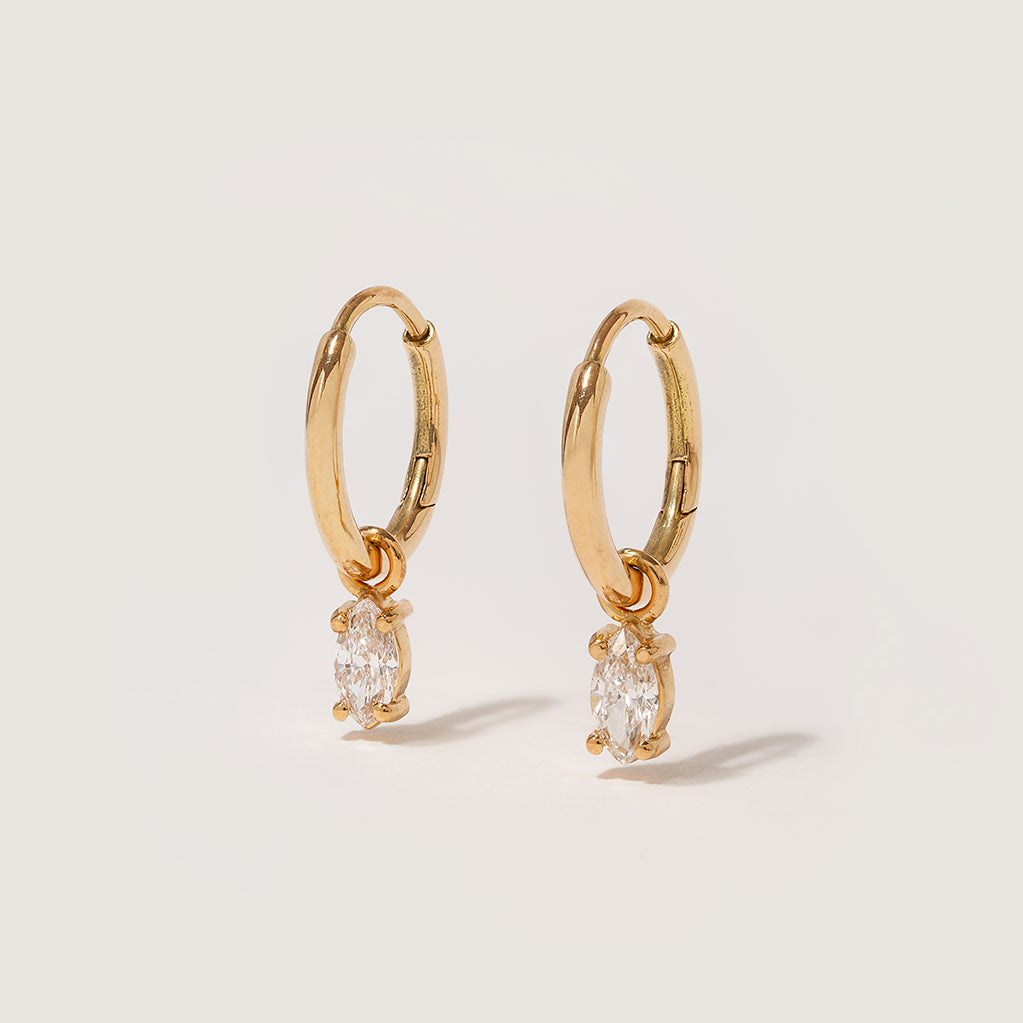
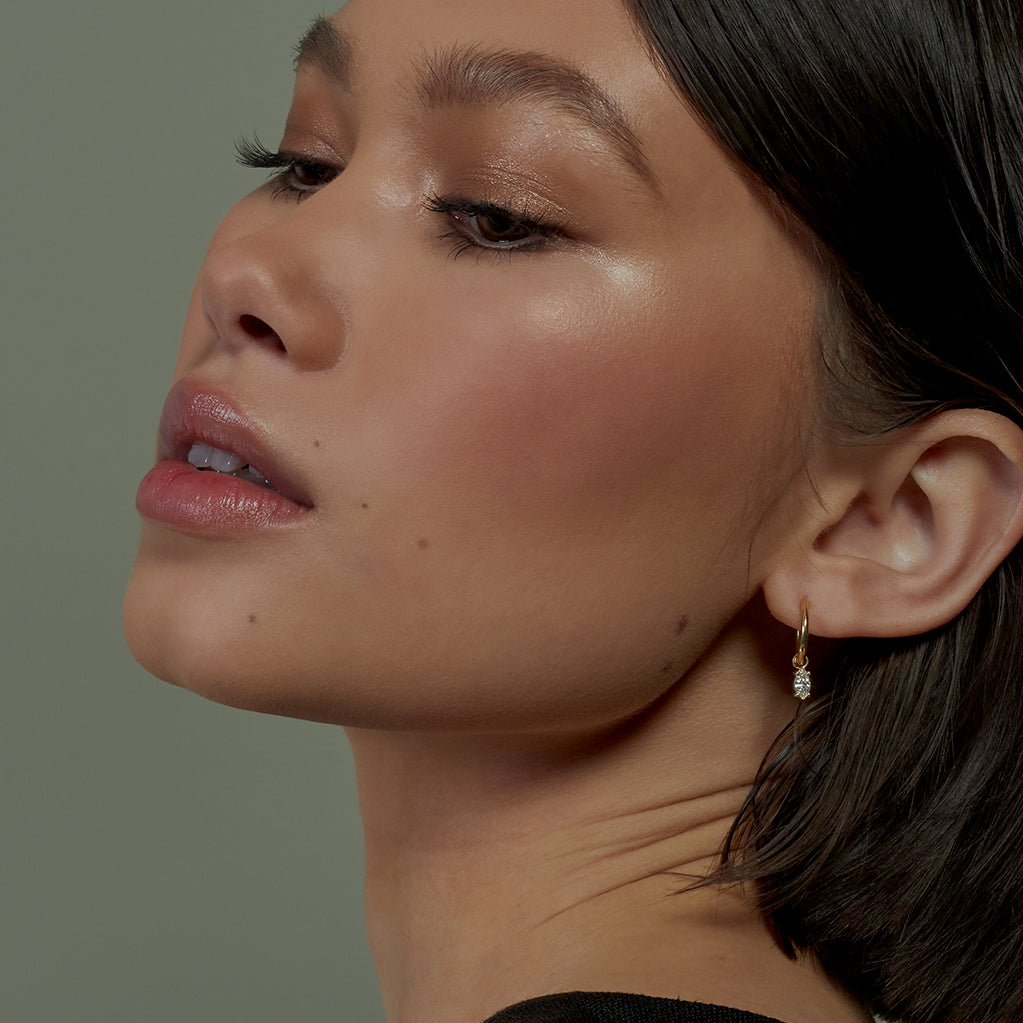
THE DREAM DROPS - MARQUISE
THE ANCHOR CHAIN